
readme.md (1665B)
1 # 1k 2 3 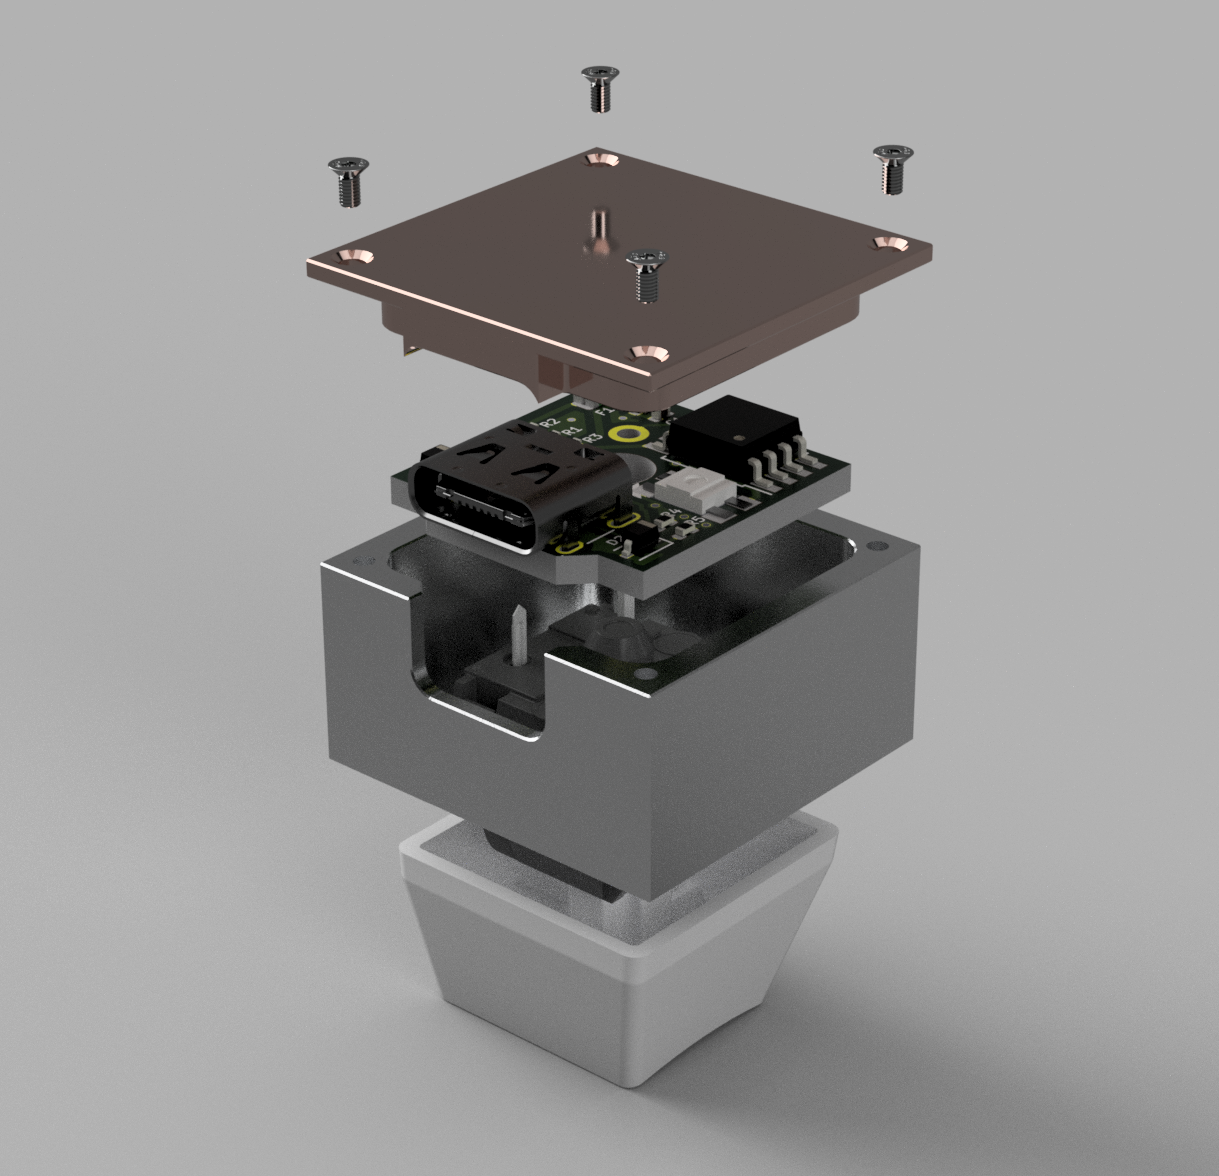 4 5 1% Custom mechanical keyboard. ATtiny85 powered, with 1*WS2812 LED, and the micronucleus bootloader. 6 7 **Note**: Due to limited firmware space, a _**lot**_ of features have to be disabled to get a functioning QMK based keyboard. 8 9 * Keyboard Maintainer: [MakotoKurauchi](https://github.com/MakotoKurauchi) 10 * Hardware Supported: 1k 11 * Hardware Availability: [booth](https://ninep.booth.pm/items/3504781) 12 13 Make example for this keyboard (after setting up your build environment): 14 15 make 1k:default 16 17 See the [build environment setup](https://docs.qmk.fm/#/getting_started_build_tools) and the [make instructions](https://docs.qmk.fm/#/getting_started_make_guide) for more information. Brand new to QMK? Start with our [Complete Newbs Guide](https://docs.qmk.fm/#/newbs). 18 19 ## Flashing 20 ### Prerequisites 21 22 ```bash 23 git clone https://github.com/micronucleus/micronucleus.git 24 cd micronucleus/commandline/ 25 sudo make install 26 ``` 27 28 On Linux, you’ll need proper privileges to access the MCU. You can either use sudo when flashing firmware, or place [these files](https://github.com/micronucleus/micronucleus/blob/master/commandline/49-micronucleus.rules) in /etc/udev/rules.d/. Once added run the following: 29 30 ```bash 31 sudo udevadm control --reload-rules 32 sudo udevadm trigger 33 ``` 34 35 ### Instructions 36 37 ```bash 38 make 1k:default:flash 39 40 # or directly with... 41 micronucleus --run <firmware.hex> 42 ``` 43 44 ### Recovery 45 46 * [Original Firmware](https://github.com/xiudi/Attiny85_vusb_pad_test) 47 * [Bootloader Repair](https://digistump.com/wiki/digispark/tutorials/proisp)