
readme.md (2011B)
1 # Lime Keyboard 2 3 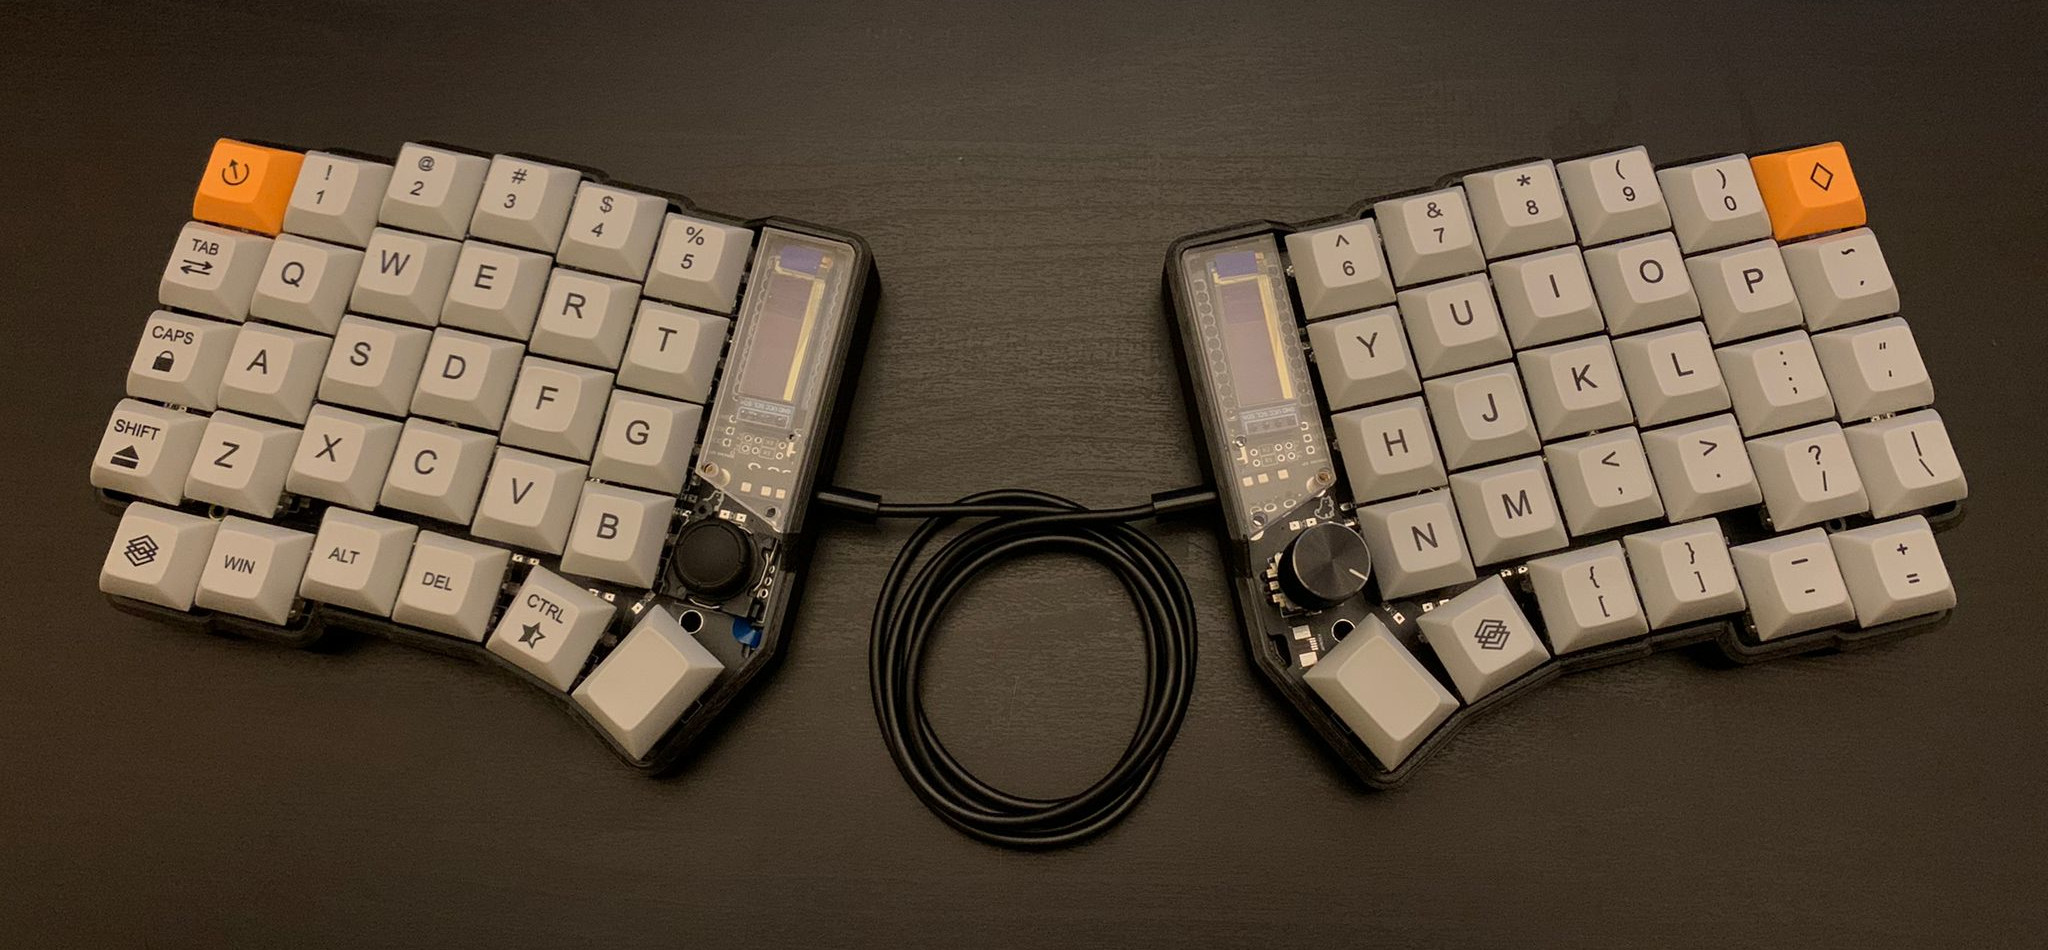 4 5 Lime is a 6×4+6 keys column-staggered split keyboard with encoder and joystick support. Based on [Lily58](https://github.com/kata0510/Lily58), [Corne](https://github.com/foostan/crkbd), [Helix](https://github.com/MakotoKurauchi/helix) and [Sofle](https://github.com/josefadamcik/SofleKeyboard) keyboards. This board features a reversible PCB, OLEDs, Underglow and Bluetooth support. The PCB has holes for floating or screwed mounts but can be also mounted with a gasket. 6 7 The Lime keyboard was created by [HellTM](https://github.com/HellSingCoder) with the help of the QMK and custom keyboard community. 8 9 Build guide and a build log not available yet 10 11 * Keyboard Maintainer: [HellSingCoder](https://www.simonepellegrino.com/) (GitHub: [HellTM](https://github.com/HellSingCoder)) 12 * Hardware Supported: LimeKeyboard PCB, ProMicro 13 * Hardware Availability: [PCB & Case Data](https://github.com/HellSingCoder/LimeKeyboard) 14 15 Make example for this keyboard (after setting up your build environment): 16 17 make lime:default 18 19 Flashing example for this keyboard: 20 21 make lime:default:flash 22 23 Press reset button on he keyboard when asked. You can do that in 3 ways: 24 * **Physical reset button**: Briefly press the button near the TRRS connector on the PCB - if you haven't installed one, short the pads instead 25 * **Keycode in layout**: Press the key mapped to `QK_BOOT` (`Lower` + `Raise` + `Esc` on the default layout) 26 * **Bootmagic reset**: Hold down the key at (0,0) in the matrix (usually the top left key or Escape) and plug in the keyboard 27 28 Disconnect the first half, connect the second one and repeat the process. 29 30 See the [build environment setup](https://docs.qmk.fm/#/getting_started_build_tools) and the [make instructions](https://docs.qmk.fm/#/getting_started_make_guide) for more information. Brand new to QMK? Start with our [Complete Newbs Guide](https://docs.qmk.fm/#/newbs).