
readme.md (1840B)
1 2 # Ploopy Trackball Mini 3 4 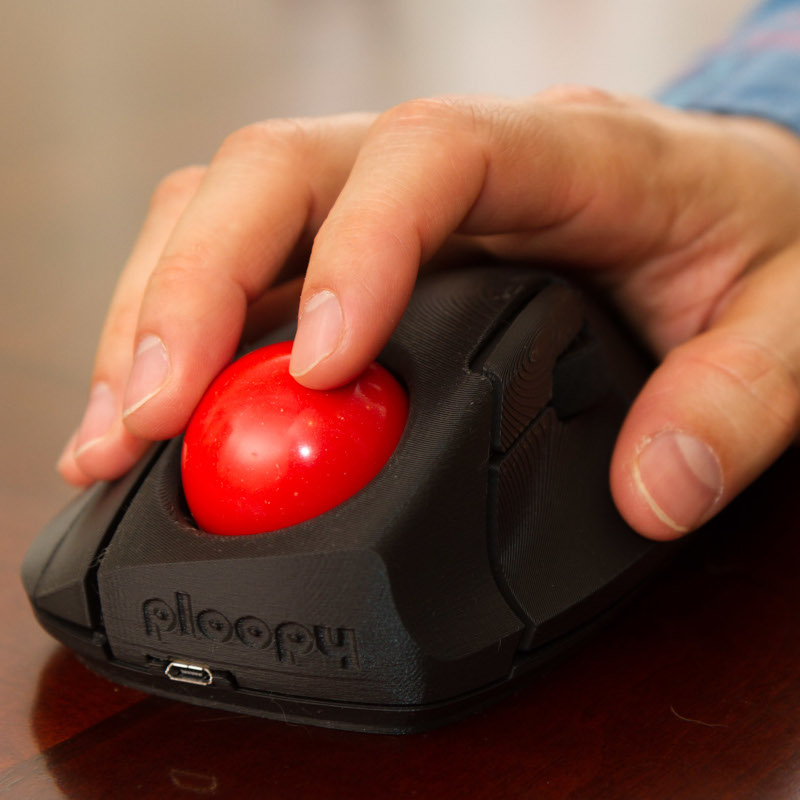 5 6 It's a DIY, QMK Powered Trackball...Mini! 7 8 * Maintainer: [PloopyCo](https://github.com/ploopyco) 9 * Key contributors: [Drashna Jael're](https://github.com/drashna/), [Germ](https://github.com/germ/) 10 * Hardware Supported: ATMega32u4 16MHz(5v) 11 * Hardware Availability: [Store](https://ploopy.co), [GitHub](https://github.com/ploopyco) 12 13 Make example for this trackball (after setting up your build environment): 14 15 make ploopyco/trackball_mini/rev1_002:default:flash 16 make ploopyco/trackball_mini/rev1_002:via:flash 17 18 To jump to the bootloader, hold down "Button 4" (immediate right of the ball) 19 20 See the [build environment setup](https://docs.qmk.fm/#/getting_started_build_tools) and the [make instructions](https://docs.qmk.fm/#/getting_started_make_guide) for more information. Brand new to QMK? Start with our [Complete Newbs Guide](https://docs.qmk.fm/#/newbs). 21 22 ## Hardware Reset Button 23 24 The Ploopy Mini has a handy bootloader reset mechanism: two via pins on the board, designated by the reference designator `MCU.J.X BOOTLOADER`. If you stick an uninsulated paperclip or a pair of metal tweezers into both holes and plug in the Mini, it will start in bootloader mode. 25 26 ## Revisions 27 28 Occasionally, new revisions of the PCB will be released. Every board comes with a designator that looks something like `R1.001`. 29 30 Match the firmware that you flash onto the board with the designator on the board. 31 32 ## Fuse settings 33 34 When flashing the bootloader, use the following fuse settings: 35 36 | Fuse | Setting | 37 |----------|-------------| 38 | Low | `0x5E` | 39 | High | `0x99` | 40 | Extended | `0xC3` | 41 42 # Customizing your Ploopy Mini Trackball 43 44 You can find customziation options [here](../readme.md).